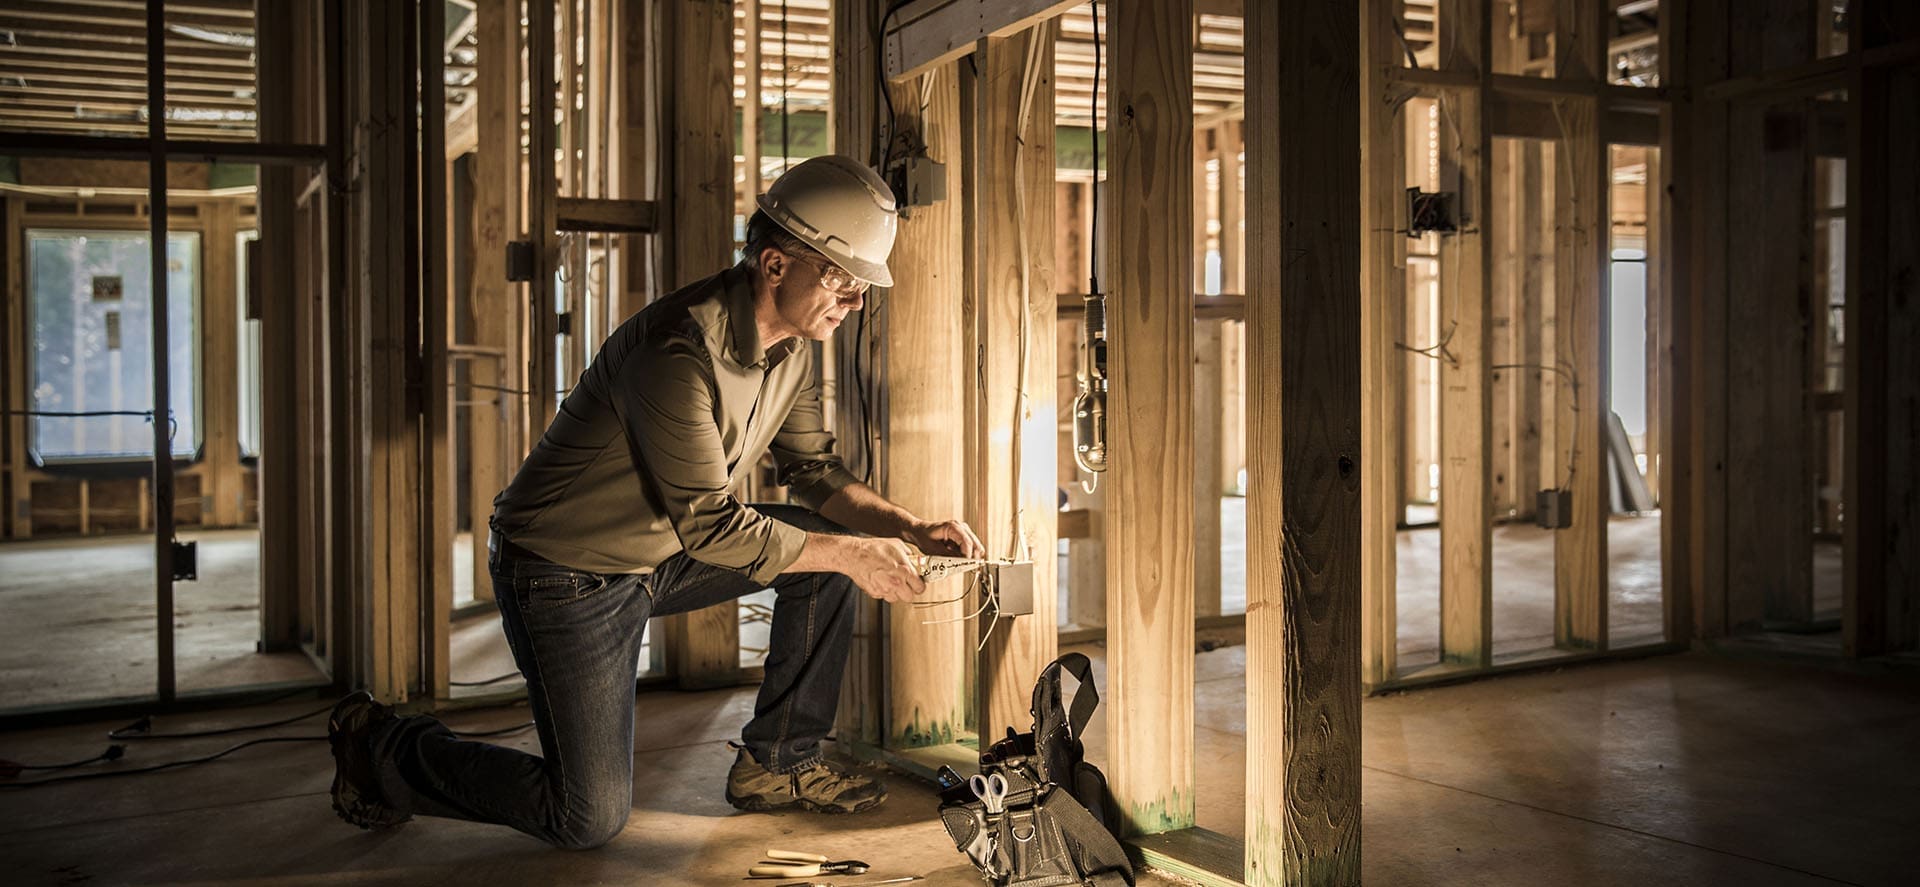
If you are new to home improvement and looking to save money on electrical work, you might ask yourself, “What’s the easiest way to run power to a shed?” It could be quite confusing and difficult if this is your first time doing so. However, we hope that with this guide we will be able to point you in the right direction of what to consider when preparing to install external wiring to your shed.
Assemble the required supplies
Trying to run power to a shed can be a challenge, especially if this may be your first time! First things first, you will need to gather the right tools. Some of these tools include: conduit, wiring, cords, switch boxes and other supplies. Most of these supplies can be found at a hardware store and are pretty affordable all together. If your situation involves heavy duty machinery, you can rent industrial tools from a local hardware store, this saves you time and enables you to be efficient.
Running power to a shed can be a 1-2 day job and if you haven’t done DIY work before or aren’t an experienced electrician, it is definitely recommended to do a little research on the equipment you will be using.
Look at all the costs
Powering a shed can be quite costly, especially if it is done by a licensed electrician. However, if you take on the task, it is important you look into how much it costs to run electricity to a shed. Usually, it is anywhere between $100-$600. The overall cost will also depend on the specifics of your situation (e.g: length of wiring, how much power needs to be supplied, type of tools used).
Typically, the cost of your tools can range. For the tools listed above, here are some of the price ranges for two of the main supplies.
1. Conduit: Depending on your situation, there are different types of conduit and pricing for each one. The most common is the rigid metal conduit which is sold in 10-foot pieces. Usually, it costs $0.77 per foot for ½ inch size, $1.16 per foot for ¾ inch size and $1.60 per foot for 1-inch size.
2. Wiring: The price of the wire depends on the length you will need to reach the shed. For residential wiring it has to be a minimum of 12-gauge thickness. Usually, the price of the wire can range anywhere between $20-$100 depending on the type of wire and how much you use.

Learn the national electric codes
Learning the national, but more specifically, your local electrical codes will help you to understand your situation better. National electrical codes, in addition to local ones, are in place for your safety and those around you. These codes govern the specifications for components for everything from circuits to external wiring. There is a basic document for electrical wiring in the United States that is called the National Electric Code (NEC) which is updated every three years. The actual rules are defined locally and specific to each state; however, the NEC is the minimal standard you must follow.
So, before you begin working on installing external wiring out to a shed or other outdoor project, be sure to familiarize yourself with the relevant codes.
Learn the basics of electrical wiring
The internet is full of DIY tutorials, including ones that will guide you on how to wire a shed. It is recommended that you watch a few videos to compare and verify all the sources. There are also step-by-step electrical wiring guides in written and video form that are quite easy to follow along if it is your first-time handling something like this.
It is also important that you follow the correct steps and in order. Usually you will need to find the right conduit, select wire to be used, dig the trench (where the wire and conduit will run through), install switch box, run the conduit, run the wire, connect the circuit and wire the shed. This may seem like a lot, but with the right instructions and supplies, it shouldn’t be too hard to accomplish.
Consult with a licensed electrician if needed
When in doubt, it’s always a good idea to consult a professional electrician. It is better to be safe than sorry when it comes to electrical work, as it can be dangerous—especially if you don’t know what you’re doing. Better still, you can pursue a career as an electrician to become confident in your electrical installation abilities.
If you are interested in making a living installing electrical power, Summit College’s Electrician program is the perfect place to start.
Discover the Summit Electrician Difference
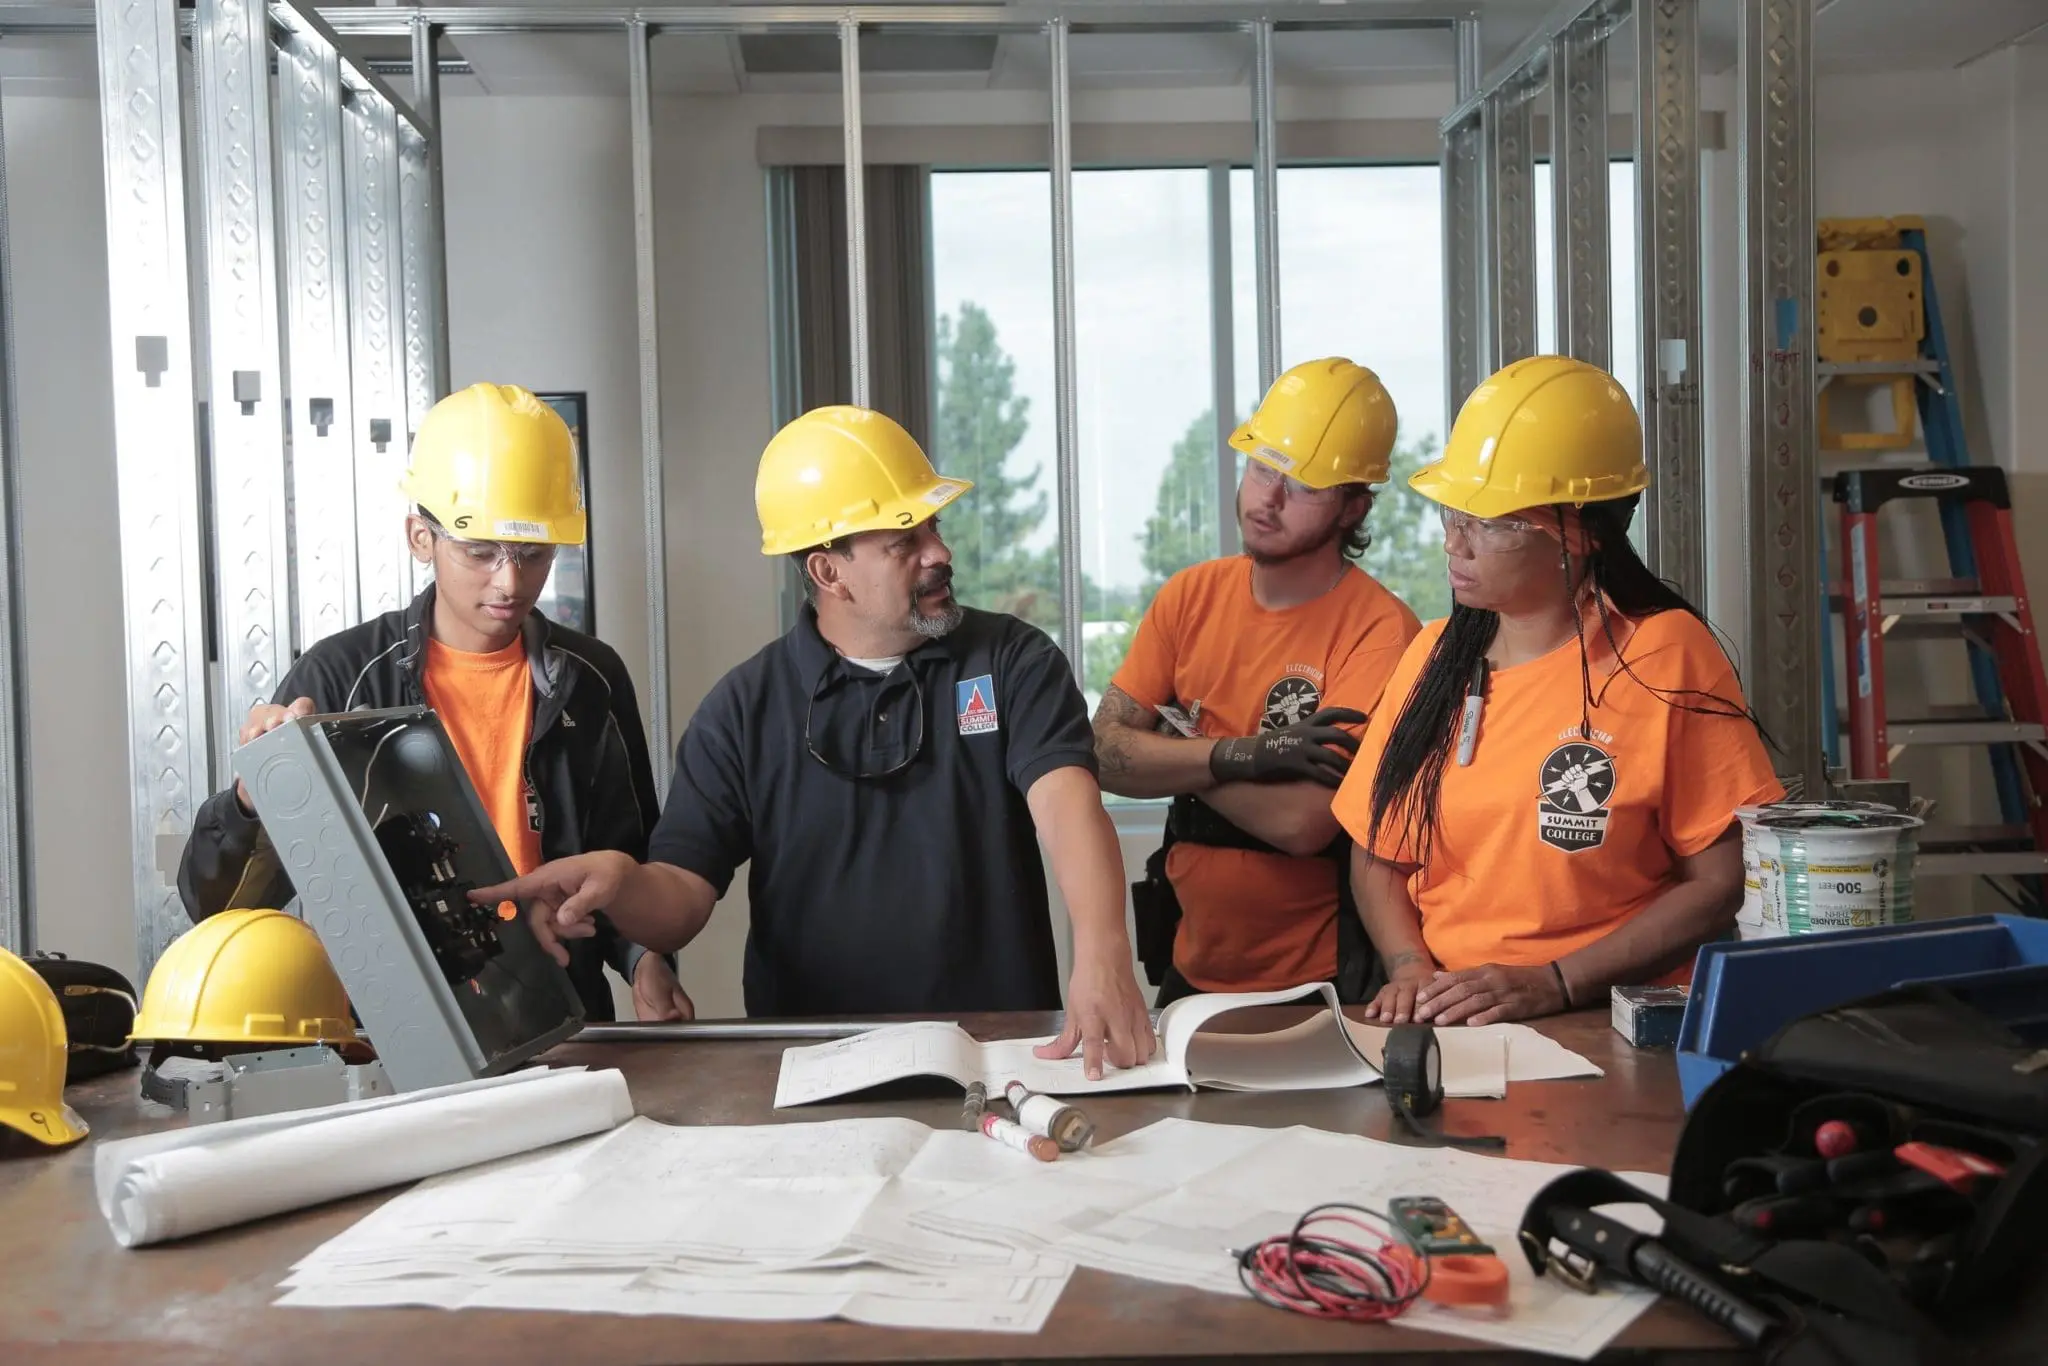
Summit College’s Electrician program provides students a well-rounded education that allows them to succeed in the workforce as professional electricians. Summit College’s Electrician program is designed to prepare students for positions in the workforce. Much of the program is hands-on learning, but that is also mixed with theoretical components so students learn the reasoning behind what they are doing. In Summit College’s Electrician program, aspiring electricians learn the ins and outs of the trade. The well-rounded curriculum gives students the opportunity to see what they might want to specialize in within electrical work. At the end of the program, you will be prepared to continue on your path to becoming a journeyman electrician.
Set yourself apart from the field with a stellar electrician education. Discover the Summit Difference. Get started today at Summitcollege.edu.
Tags: electrician programs


