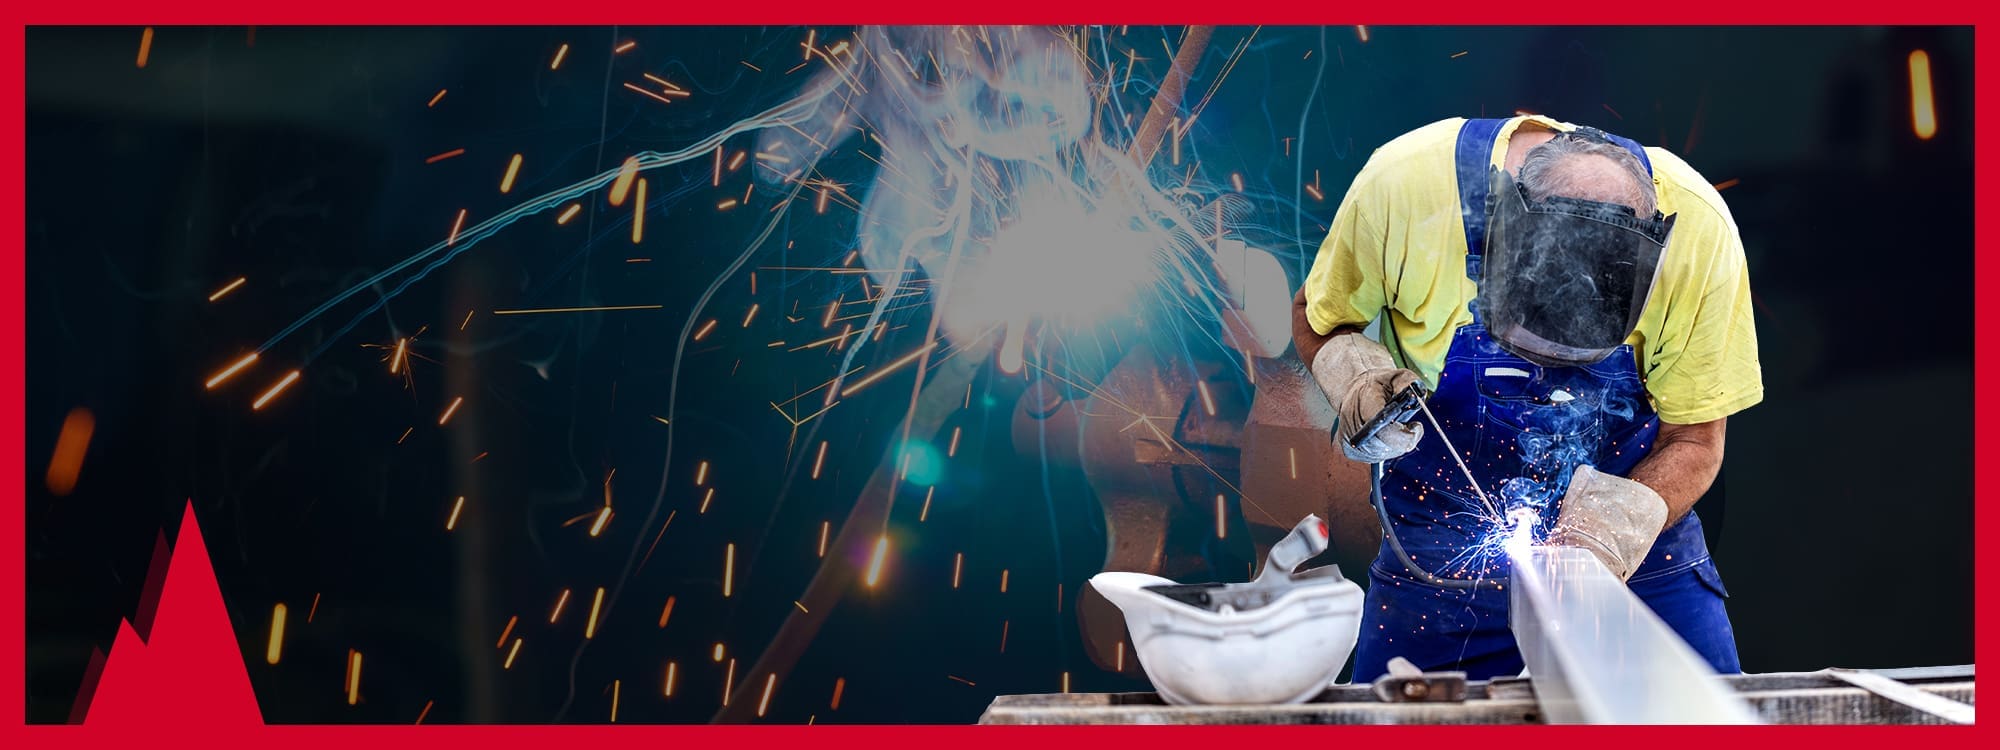
As a welder, you need to be able to understand and interpret welding symbols correctly to ensure the work is being done properly. This saves the time, cost, and effort of having to re-do work that doesn’t follow the welding symbols and instructions on the blueprints.
Unfortunately, many welders don’t know these symbols or how to read a welding blueprint. If you take the time to gain this knowledge, you’ll be giving yourself a competitive edge in the marketplace and be able to do a much more professional, quality job.
There are too many welding symbols to cover here – that’s why it’s important to get training through an accredited welding program that teaches welding symbols and welding blueprint reading as part of their curriculum. Still, here are a few of the basics you’ll need to know when you begin your career as a welder.
Welding Symbol Structure
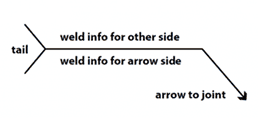
Welding symbols are drawn in such a way that they provide a lot of information in a little space. The basic structure of a welding symbol describes the location and direction of the weld. The arrow points out where the weld should be made. Additional information such as the type of weld, dimensions of the weld, and more is included on the horizontal reference line. The tail may fork off in several directions and indicate that there are specialized instructions for the weld.
Types of Welds
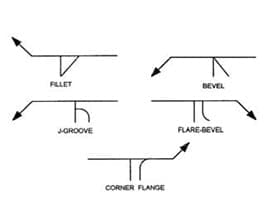
In the center of the reference line, you will see lines or a geometric shape that indicates what type of weld is required. There are more than a dozen types of welds that can be made, so it’s helpful to memorize all the different symbols. Some of the most common types of welds include fillet welds (used mostly for 90-degree lap joints, T-joints and corner joints), groove welds (used to create joints connected between the edges of two metal frames or sheets), and plug and slot welds (used to join frames and metal sheets that overlap one another). Below are some examples of symbols that indicate the type of weld desired.
Letters on Welding Symbols
Welding symbols also often include letters which can communicate a range of additional information. “L”, for example, stands for the length of the weld, while “R” stands for the root opening/depth of filling required. Again, there are a number of these abbreviations – mastering them will help you more fully understand the specifications of the job.
Dimensions and Angles
Finally, there may be numbers on the welding symbols. The diameter or width of the weld is generally located to the left of the weld symbol and will appear as a fraction in inches. The length, also expressed in inches, is on the right of weld symbol. The angle of the weld is also included. All of this information is valuable in helping you determine how to best perform the task at hand.
If you’re interested in training to become a master of metal, and learning how to decipher welding symbols and read blueprints like a pro, Summit College can help! Check out our Welding Program where you can learn real-world skills and be ready to work in as little as 9 months. You can also apply online, schedule a tour of one of our three campuses, or contact us for more information.
